
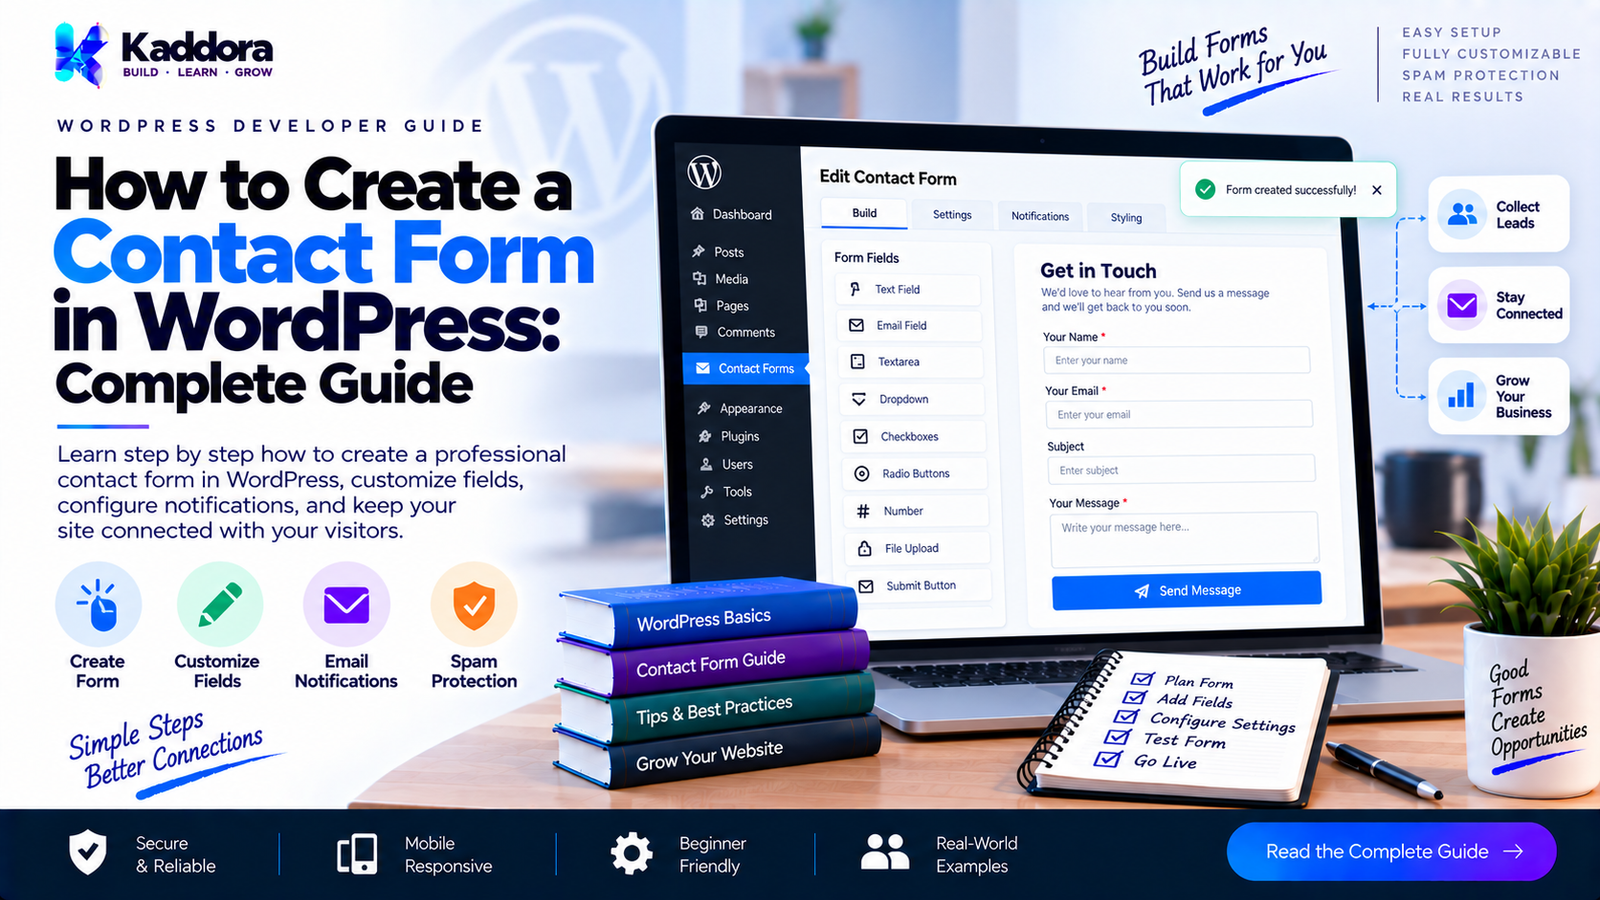
How to Create a Contact Form in WordPress: Complete Guide
Introduction
A contact form is one of the most important communication features on a WordPress website. It gives visitors a simple way to ask questions, request quotes, report problems, submit inquiries, or contact a business without exposing an email address directly on the page.
Whether you run a business website, blog, portfolio, agency, WooCommerce store, SaaS website, or service website, a well-designed contact form can turn website traffic into real conversations and leads.
WordPress does not include a complete contact form builder by default. Therefore, you typically create a contact form using a WordPress form plugin, a custom-built plugin, or custom HTML/PHP integrated with WordPress.
This guide explains how to create a contact form in WordPress step by step, including form fields, validation, email notifications, spam protection, security, styling, performance, accessibility, and advanced integrations.
What Is a Contact Form in WordPress?
A WordPress contact form is an interactive form that allows visitors to submit information to your website.
A basic contact form may contain:
Name
Email address
Subject
Message
Submit button
More advanced forms can include:
Phone number
Company name
Service selection
Budget
File upload
Preferred contact method
Date and time
Checkbox consent
Newsletter subscription
Product information
Custom fields
When a visitor submits the form, WordPress can process the information and trigger an action such as sending an email notification, storing the submission, creating a support ticket, or sending data to another system.
Why Add a Contact Form to a WordPress Website?
A contact form provides a structured communication channel between your visitors and your business.
1. Generate Leads
Visitors can use your form to request:
Product information
Service details
Pricing
Demonstrations
Consultations
Quotes
2. Improve User Experience
Visitors do not need to manually open their email application and type your email address.
A form provides a direct communication method directly on your website.
3. Collect Structured Information
Instead of receiving an email containing incomplete information, you can require specific fields.
For example:
Name Email Company Service Required Budget Message
This makes inquiries easier to process.
4. Protect Your Email Address
Displaying a plain email address publicly can increase exposure to email harvesting and spam.
A contact form can provide an alternative communication method.
5. Automate Follow-Up
A form can trigger:
Admin notifications
Customer confirmation emails
CRM entries
Support tickets
Marketing automation
Webhooks
Database records
Ways to Create a Contact Form in WordPress
There are several ways to create a contact form.
Method 1: Use a WordPress Contact Form Plugin
This is the easiest method for most website owners.
A form plugin typically provides:
Visual form builder
Form fields
Validation
Email notifications
Spam protection
Form styling
Submission management
Integrations
This approach is appropriate when you need a form quickly without developing the functionality yourself.
Method 2: Build a Custom WordPress Plugin
Developers can create a custom contact form plugin using native WordPress APIs.
This provides complete control over:
HTML
CSS
JavaScript
Validation
Email processing
Database storage
REST APIs
Integrations
Security
User experience
A custom plugin is particularly useful when the form is part of a larger business workflow.
Method 3: Build a Custom Form Inside an Existing Plugin
If you already have a WordPress plugin, you can add a contact form module to it.
For example:
Kaddora Business Plugin │ ├── Contact Form ├── Lead Management ├── Email Notifications ├── CRM Integration └── Analytics
This can be useful when contact submissions need to interact with existing plugin functionality.
Step 1: Decide What Your Contact Form Should Collect
Before creating the form, determine the information you actually need.
A simple business contact form might contain:
Name * Email * Phone Subject * Message * Consent * Submit
Do not add unnecessary fields.
Every additional field increases the amount of effort required from the visitor.
For example, if you only need a name, email, and message, avoid asking for:
Company Job Title Address Country Website Phone Budget Industry
unless those fields are actually useful.
Step 2: Create the Form Fields
A basic contact form can use HTML similar to this:
<form class="kaddora-contact-form" method="post"> <p> <label for="contact-name">Name</label> <input type="text" id="contact-name" name="contact_name" required > </p> <p> <label for="contact-email">Email</label> <input type="email" id="contact-email" name="contact_email" required > </p> <p> <label for="contact-subject">Subject</label> <input type="text" id="contact-subject" name="contact_subject" required > </p> <p> <label for="contact-message">Message</label> <textarea id="contact-message" name="contact_message" rows="6" required ></textarea> </p> <button type="submit"> Send Message </button> </form>
This creates the basic frontend structure.
However, HTML alone is not enough.
The server must validate and process the submitted data securely.
Step 3: Validate Form Data
Never trust data submitted by a visitor.
Client-side validation improves the user experience, but server-side validation is essential for security and reliability.
For example:
$name = isset( $_POST['contact_name'] ) ? sanitize_text_field( wp_unslash( $_POST['contact_name'] ) ) : ''; $email = isset( $_POST['contact_email'] ) ? sanitize_email( wp_unslash( $_POST['contact_email'] ) ) : ''; $message = isset( $_POST['contact_message'] ) ? sanitize_textarea_field( wp_unslash( $_POST['contact_message'] ) ) : '';
Then validate required values:
if ( empty( $name ) ) { $error = 'Please enter your name.'; } if ( ! is_email( $email ) ) { $error = 'Please enter a valid email address.'; } if ( empty( $message ) ) { $error = 'Please enter your message.'; }
The important principle is:
Validate and sanitize data on the server, even if JavaScript already validates it.
Step 4: Protect the Form With a Nonce
WordPress forms should use nonces to help protect requests against CSRF attacks.
Generate the nonce:
wp_nonce_field( 'kaddora_contact_form_action', 'kaddora_contact_nonce' );
Then verify it when processing the form:
if ( ! isset( $_POST['kaddora_contact_nonce'] ) || ! wp_verify_nonce( sanitize_text_field( wp_unslash( $_POST['kaddora_contact_nonce'] ) ), 'kaddora_contact_form_action' ) ) { wp_die( 'Security check failed.' ); }
Do not rely on a nonce as your only security mechanism.
You should still:
Validate input
Sanitize input
Escape output
Restrict actions
Protect sensitive operations
Implement spam protection
Step 5: Process the Submission
After validation, WordPress can process the form submission.
A simple email notification can use wp_mail():
$to = get_option( 'admin_email' ); $subject = 'New Contact Form Submission'; $body = sprintf( "Name: %s\nEmail: %s\n\nMessage:\n%s", $name, $email, $message ); $headers = array( 'Content-Type: text/plain; charset=UTF-8', ); wp_mail( $to, $subject, $body, $headers );
The website administrator can then receive the inquiry.
However, wp_mail() does not guarantee successful delivery by itself. Email deliverability depends on the site's mail configuration and hosting environment.
For production websites, configure reliable SMTP or another appropriate transactional email service.
Step 6: Send a Confirmation Email to the Visitor
You can also send a confirmation message to the person who submitted the form.
For example:
$confirmation_subject = 'We received your message'; $confirmation_body = sprintf( "Hello %s,\n\nThank you for contacting us. We have received your message and will get back to you soon.", $name ); wp_mail( $email, $confirmation_subject, $confirmation_body, $headers );
A confirmation email can reassure the visitor that the submission was received.
Avoid promising a specific response time unless your business actually follows that response policy.
Step 7: Add Spam Protection
Contact forms are frequent targets for automated spam.
Common protection methods include:
Honeypot Fields
A hidden field can identify simple automated submissions.
CAPTCHA
CAPTCHA-based systems can help distinguish humans from automated requests.
Rate Limiting
Limit repeated submissions from the same source.
Minimum Submission Time
Reject suspicious submissions that occur unrealistically quickly.
Content Filtering
Detect obvious spam patterns.
A good form may combine multiple techniques instead of relying on only one.
Step 8: Store Contact Form Submissions
Email notifications are useful, but important business inquiries may also need to be stored.
A custom plugin could store submissions in a dedicated database table.
For example:
wp_kaddora_contact_submissions
Possible columns include:
id name email subject message status created_at
For more advanced systems:
id name email phone subject message status assigned_user source ip_hash created_at updated_at
Do not store information simply because you can.
Only collect and retain information that your business actually needs.
Step 9: Add Submission Status
A useful contact management system can support statuses such as:
New In Progress Waiting for Customer Resolved Spam Archived
This turns a simple contact form into a lightweight lead or support management system.
Step 10: Create a Better Contact Form UI
The form should be easy to understand.
A simple layout could be:
----------------------------------------- Contact Us Name [____________________________] Email [____________________________] Subject [____________________________] Message [ ] [ ] [____________________________] [ Send Message ] -----------------------------------------
Use clear labels rather than relying only on placeholders.
For example:
<label for="email"> Email Address </label> <input type="email" id="email" name="email" autocomplete="email" required >
Labels improve accessibility and make forms easier to understand.
Step 11: Make the Contact Form Responsive
The form should work properly on:
Desktop
Laptop
Tablet
Mobile phones
A simple responsive layout might use:
.kaddora-contact-form { max-width: 700px; margin: 0 auto; } .kaddora-contact-form input, .kaddora-contact-form textarea { width: 100%; box-sizing: border-box; } @media (max-width: 600px) { .kaddora-contact-form { padding: 0 16px; } }
Avoid forms that require horizontal scrolling on mobile.
Step 12: Add AJAX Form Submission
For a better user experience, you can submit the form without reloading the page.
The flow becomes:
Visitor ↓ Fill Form ↓ JavaScript ↓ AJAX Request ↓ WordPress ↓ Validate ↓ Process ↓ JSON Response ↓ Success/Error Message
The interface can then display:
✓ Your message has been sent successfully.
without refreshing the page.
However, AJAX does not replace server-side security.
Step 13: Use the WordPress REST API for Custom Forms
A custom application can submit form data through a WordPress REST endpoint.
Example:
register_rest_route( 'kaddora/v1', '/contact', array( 'methods' => WP_REST_Server::CREATABLE, 'callback' => 'kaddora_handle_contact_submission', 'permission_callback' => '__return_true', ) );
The callback should perform:
Request validation
Nonce or appropriate request authentication
Input sanitization
Field validation
Spam checks
Processing
Email delivery
Storage
JSON response
Do not expose sensitive administrative operations through an unrestricted public endpoint.
Step 14: Add Conditional Fields
Advanced forms can display fields based on user selections.
For example:
What do you need? ○ Website Development ○ WordPress Plugin ○ SEO ○ Support
If the user selects:
WordPress Plugin
the form could display:
Plugin Type Current Plugin Required Features Budget
Conditional fields can make complex forms easier to use.
Step 15: Connect the Form to a CRM
A contact form becomes more useful when submissions automatically enter your sales workflow.
The architecture can look like:
WordPress Contact Form ↓ Validation ↓ Submission ↓ CRM ↓ Lead Assignment ↓ Sales Follow-Up
Possible integrations include:
CRM systems
Email marketing platforms
Helpdesk software
Slack or notification systems
Google Sheets
Webhooks
Internal business applications
Always obtain the appropriate consent before sending personal data to external services.
Step 16: Add File Uploads Carefully
Some contact forms require file uploads.
For example:
Name Email Problem Description Attachment
If you support uploads, validate:
File type
File size
MIME type
Upload errors
Allowed extensions
Do not blindly trust the filename supplied by the browser.
WordPress's upload APIs should be preferred over manually moving uploaded files.
Step 17: Improve Email Deliverability
One of the most common problems with WordPress contact forms is:
The form says it was submitted, but the email never arrives.
Possible causes include:
Hosting mail configuration
Incorrect sender address
Spam filtering
Missing domain authentication
Server restrictions
Poor email reputation
For business websites, configure proper email infrastructure.
The form should also distinguish between:
Submission successful
and
Email delivery confirmed
These are not necessarily the same thing.
Step 18: Prevent Email Header Injection
Never directly trust user-controlled values in email headers.
For example, avoid constructing headers from unvalidated visitor input.
The visitor's email should generally be treated as data rather than blindly inserted into arbitrary mail headers.
Use controlled headers and validated email addresses.
Step 19: Add Success and Error States
A good contact form should clearly communicate what happened.
Success
Thank you. Your message has been sent successfully.
Validation Error
Please enter a valid email address.
Server Error
We could not process your request right now. Please try again.
Spam Protection
Your submission could not be processed.
Do not expose internal PHP errors, database errors, API credentials, or server information to visitors.
Step 20: Make the Form Accessible
Accessibility should be part of the form architecture.
Use:
Proper labels
Keyboard navigation
Visible focus states
Sufficient contrast
Meaningful error messages
Accessible buttons
Appropriate input types
Logical field order
For example:
<label for="phone"> Phone Number </label> <input type="tel" id="phone" name="phone" autocomplete="tel" >
Avoid making the form dependent entirely on color to communicate errors.
WordPress Contact Form Security Checklist
Before publishing a contact form, verify:
Server-side validation
Input sanitization
Output escaping
Nonce protection where appropriate
Spam protection
Rate limiting
Secure upload validation
No sensitive information in frontend JavaScript
No API keys exposed to visitors
Safe email handling
Proper authorization for administrative operations
Secure database queries
Privacy considerations
Appropriate data retention
Contact Form Performance Best Practices
A contact form should not unnecessarily slow down the website.
Avoid loading large JavaScript libraries only for a small form.
Use:
Minimal JavaScript
Efficient CSS
Conditional asset loading
Lightweight validation
Optimized AJAX requests
Cached static assets
Properly optimized CAPTCHA resources
For a plugin, enqueue assets only when the form is actually displayed.
For example, avoid loading:
contact-form.js contact-form.css
on every WordPress admin and frontend page if the form exists only on one page.
Contact Form SEO Considerations
A contact form itself is not usually an SEO strategy, but the surrounding contact page can support website quality and user experience.
A useful contact page can include:
Clear page title
Business information
Contact methods
Location information where appropriate
Support information
Business hours
Frequently asked questions
Clear call to action
For local businesses, consistent business information can also help users understand how to contact the business.
Contact Form vs Contact Email
Feature
Contact Form
Plain Email
Structured information
Yes
Usually no
Custom fields
Yes
Limited
Spam controls
Yes
Limited
Validation
Yes
Limited
CRM integration
Easy
Usually requires additional processing
File uploads
Yes
Yes
User experience
Website-based
Requires email client
Automation
Strong
Limited
A contact form is generally more flexible when you need structured inquiries and automation.
Contact Form Plugin vs Custom Development
Requirement
Plugin
Custom Development
Basic contact form
Excellent
Possible
Advanced workflows
Depends on plugin
Excellent
Custom business logic
Limited/varies
Excellent
Development time
Low
Higher
Maintenance
Plugin updates
Your responsibility
Custom UI
Often supported
Complete control
CRM integration
Depends on integrations
Complete control
Database workflow
Depends on plugin
Complete control
For a simple website, an established form plugin may be sufficient.
For a highly customized business workflow, custom development can provide greater control.
Recommended Architecture for a Custom WordPress Contact Form
A practical custom implementation can follow this structure:
WordPress Plugin │ ├── Plugin Bootstrap │ ├── Contact Form │ ├── Form Renderer │ ├── Field Configuration │ └── Validation │ ├── Submission Handler │ ├── Security │ ├── Nonce │ ├── Sanitization │ └── Spam Protection │ ├── Email │ └── Notification Service │ ├── Storage │ └── Submission Repository │ ├── Admin │ └── Submission Management │ ├── REST API │ └── Assets ├── CSS └── JavaScript
This structure keeps responsibilities separated without introducing unnecessary complexity.
Example WordPress Plugin Flow
A practical flow could look like:
Visitor opens contact page ↓ Form rendered ↓ Visitor enters information ↓ Client-side validation ↓ Submit ↓ Server receives request ↓ Verify security ↓ Sanitize input ↓ Validate fields ↓ Check spam ↓ Store submission ↓ Send notification ↓ Return response ↓ Display success message
This is a good foundation for a production contact form.
Common WordPress Contact Form Mistakes
1. Trusting Browser Validation
JavaScript validation can be bypassed.
Always validate on the server.
2. Forgetting Spam Protection
Public forms without protection can quickly attract automated submissions.
3. Loading Assets Everywhere
Do not load form-specific assets unnecessarily across the entire website.
4. Exposing API Keys
Never place private API credentials inside frontend JavaScript.
5. Storing Too Much Personal Data
Only collect information required for the business process.
6. Using Poor Email Configuration
A correctly coded form can still have email delivery problems.
7. Missing Error Messages
Visitors should know whether their submission succeeded or failed.
8. Ignoring Mobile Users
Most modern websites receive visitors from mobile devices. The form should work properly on small screens.
9. Creating Forms Without Accessibility
Labels, keyboard navigation, focus states, and clear errors are essential.
10. Making Every Field Required
Only require information that is genuinely necessary.
How to Create a Contact Form in WordPress: Quick Implementation Plan
If you are building a new contact form, follow this sequence:
Phase 1: Planning
Define:
Purpose
Required fields
Optional fields
Email recipients
Data retention
Spam strategy
Phase 2: Frontend
Build:
Labels
Inputs
Textarea
Submit button
Loading state
Error messages
Success message
Phase 3: Backend
Implement:
Nonce verification
Sanitization
Validation
Spam protection
Processing
Email notifications
Phase 4: Storage
If required:
Create submission storage
Add statuses
Build admin management
Add search/filtering
Phase 5: Integrations
Connect:
CRM
Helpdesk
Webhooks
Analytics
Phase 6: Testing
Test:
Valid submissions
Invalid emails
Empty fields
Spam
Duplicate submissions
Mobile layout
Accessibility
Email delivery
Server errors
Final WordPress Contact Form Checklist
Before launching your contact form, check:
Form fields are clearly labeled
Required fields are minimized
Server-side validation works
Input is sanitized
Output is escaped
Nonce protection is implemented where appropriate
Spam protection is enabled
Rate limiting is considered
Email notifications work
Confirmation messages work
Email deliverability has been tested
Mobile layout works
Keyboard navigation works
Error messages are clear
File uploads are restricted if enabled
Sensitive information is protected
Personal data collection is minimized
CRM/webhook integrations are tested
Form-specific assets are optimized
Why Choose Kaddora?
Creating a contact form is easy when all you need is a name, email address, and message. The challenge begins when the form becomes part of a larger business workflow.
Kaddora focuses on practical WordPress development for businesses that need more than basic functionality.
A custom WordPress contact solution can be designed around your specific requirements, including:
Custom form fields
Lead capture
Submission management
CRM integration
Email automation
WooCommerce integration
Support workflows
REST API integration
Custom dashboards
Spam protection
Role-based access
Analytics
Business automation
The goal is not simply to create another form. The goal is to create a reliable communication and workflow system that fits the website and business process.
Conclusion
Creating a contact form in WordPress can be as simple as installing a form plugin and adding a few fields, or as advanced as developing a complete custom lead and support management system.
For a basic website, a reliable contact form plugin can provide everything you need.
For custom business requirements, a native WordPress implementation can provide greater control over validation, storage, email processing, integrations, security, and user experience.
Regardless of the implementation method, a production-ready WordPress contact form should focus on:
Simple user experience
Strong server-side validation
Spam protection
Secure data processing
Reliable email delivery
Accessibility
Mobile responsiveness
Performance
Privacy-conscious data collection
Clear success and error states
A well-designed contact form does more than allow visitors to send messages. It can become an important part of your website's lead generation, customer support, and business automation system.
Frequently Asked Questions
How do I create a contact form in WordPress?
The easiest way is to install a WordPress contact form plugin, create the required fields, configure email notifications, and embed the form on your contact page. Developers can also build a custom form using native WordPress APIs.
Does WordPress have a built-in contact form?
WordPress does not provide a complete visual contact form builder by default. A plugin or custom development is normally required.
What fields should a contact form have?
A basic form usually needs a name, email address, subject, and message. Add additional fields only when they are necessary for your business process.
How do I receive contact form submissions by email?
The form can process the submission and use WordPress email functionality to send a notification to the configured recipient. Reliable SMTP or transactional email configuration can improve deliverability.
How do I stop spam contact form submissions?
Use techniques such as honeypots, CAPTCHA, rate limiting, validation, and spam filtering. Combining multiple protections can provide stronger defense than relying on one method.
Is it better to use a WordPress contact form plugin or custom code?
It depends on the requirements. A plugin can be faster for standard forms, while custom development provides greater control over business logic, storage, integrations, and the user experience.
Can a WordPress contact form store submissions in the database?
Yes. A custom solution or a suitable form plugin can store submissions in WordPress-managed storage so administrators can review and manage them.
Can I connect a WordPress contact form to a CRM?
Yes. Contact forms can integrate with CRM systems using plugins, APIs, webhooks, or custom WordPress development.
Can I create an AJAX contact form in WordPress?
Yes. JavaScript can submit the form asynchronously to a WordPress AJAX or REST API endpoint and display the result without reloading the page.
Is a WordPress contact form secure?
A contact form can be made significantly more secure by implementing server-side validation, sanitization, appropriate nonce protection, spam controls, authorization checks, safe file handling, and secure database operations.
Why choose Themekaddora?
Themekaddora provides lightweight, responsive, SEO-friendly WordPress themes with fast performance, WooCommerce compatibility, flexible customization, accessibility-conscious design, modern templates, regular updates, and professional support—providing a strong foundation for businesses building digital products and product-focused websites.
Comments (0)