
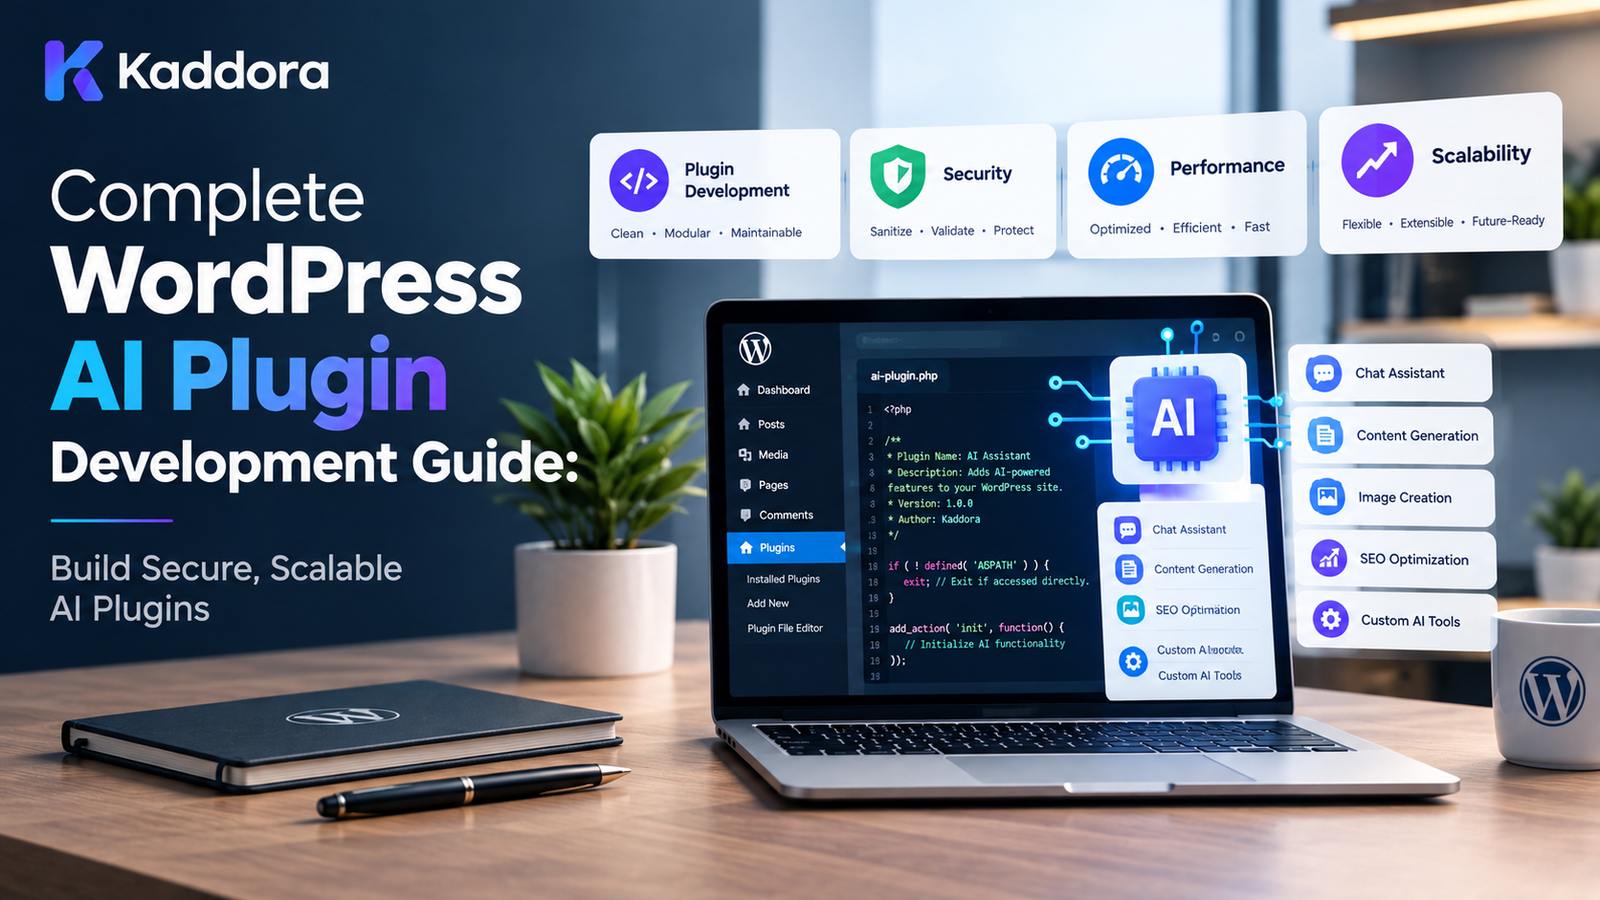
Complete WordPress AI Plugin Development Guide
Introduction
Artificial intelligence is changing how WordPress websites are built and managed.
AI can help WordPress websites generate content, improve SEO, answer customer questions, analyze data, generate product descriptions, create images, improve search, automate workflows, and personalize user experiences.
For developers, this creates an opportunity to build powerful WordPress AI plugins.
However, developing an AI plugin is more than connecting a WordPress website to an AI API.
A production-ready AI plugin must also handle:
WordPress architecture
AI provider integration
API credentials
Security
Privacy
Data validation
Performance
Caching
Background processing
Database design
Error handling
Rate limiting
Scalability
Compatibility
User experience
This complete guide explains how to approach WordPress AI plugin development from planning and architecture through testing and deployment.
What Is a WordPress AI Plugin?
A WordPress AI plugin is a WordPress extension that uses artificial intelligence to provide additional functionality.
Common examples include:
AI chatbots
AI content generators
AI SEO assistants
AI writing tools
AI translation plugins
AI image generators
AI image optimization
AI alt text generation
AI product descriptions
AI recommendations
AI search
AI customer support
AI form processing
AI automation
AI analytics
A simplified architecture looks like this:
WordPress Website ↓ AI Plugin ↓ AI Service Layer ↓ AI Provider API ↓ AI Response ↓ WordPress Application
A more scalable architecture separates the major components:
WordPress │ ├── Plugin Core ├── Admin ├── Frontend ├── REST API ├── AI Services ├── Provider Adapters ├── Database ├── Cache ├── Queue ├── Security └── Integrations ↓ AI Provider
Why Build an AI Plugin for WordPress?
WordPress powers a large ecosystem of websites, businesses, stores, publishers, agencies, and online services.
AI plugins can add intelligent functionality without requiring website owners to build an entire AI application from scratch.
For example, a WooCommerce store could use AI for:
Product descriptions
Product recommendations
Upsells
Search
Customer support
Content generation
Product categorization
A publishing website could use AI for:
Content assistance
Summaries
SEO analysis
Internal linking suggestions
Translation
Content classification
An agency could use AI for:
Automated workflows
Client support
Reporting
Content operations
Lead qualification
Step 1: Define the AI Plugin's Purpose
Before writing code, define the problem the plugin will solve.
For example:
Problem: Website owners spend significant time creating product descriptions. Solution: AI-powered WooCommerce product description generation.
Avoid starting with:
"I want to add AI."
Instead ask:
"What specific WordPress problem should AI solve?"
This makes the architecture and feature set much clearer.
Step 2: Define the Target Users
Identify who will use the plugin.
Potential users include:
Bloggers
Website owners
Developers
Agencies
WooCommerce merchants
Marketing teams
Support teams
Enterprise websites
Different users may require different levels of configuration.
Step 3: Define the AI Workflow
Document the complete workflow before implementation.
For example:
User ↓ Select Product ↓ Enter Instructions ↓ Plugin Builds Prompt ↓ AI API Request ↓ Response Validation ↓ Preview Result ↓ User Approval ↓ Save Result
This helps identify security, performance, and UX requirements early.
Step 4: Choose the AI Provider
An AI plugin needs an AI service capable of providing the required functionality.
The appropriate provider depends on:
Required AI capabilities
Models
Pricing
API limits
Response formats
Availability
Data-processing requirements
Supported features
Do not design the entire plugin around assumptions about one provider's API.
Step 5: Create an AI Provider Abstraction
Instead of calling a provider directly from every feature, create an AI service layer.
For example:
Plugin Feature ↓ AI Service ↓ Provider Interface ↓ Provider Adapter ↓ External AI API
This architecture makes future provider changes easier.
Step 6: Create the Plugin Structure
A larger AI plugin can use a modular structure such as:
my-ai-plugin/ │ ├── my-ai-plugin.php ├── includes/ │ ├── class-plugin.php │ ├── class-loader.php │ ├── class-settings.php │ ├── class-security.php │ ├── class-ai-service.php │ └── class-cache.php │ ├── admin/ │ ├── class-admin.php │ ├── views/ │ ├── css/ │ └── js/ │ ├── public/ │ ├── class-public.php │ ├── css/ │ └── js/ │ ├── api/ ├── providers/ ├── database/ ├── queue/ ├── languages/ └── uninstall.php
The exact structure can vary according to plugin complexity.
Step 7: Build the Plugin Bootstrap
The main plugin file should initialize the plugin rather than containing the entire application.
A simplified pattern is:
<?php defined( 'ABSPATH' ) || exit; require_once plugin_dir_path( __FILE__ ) . 'includes/class-plugin.php'; function my_ai_plugin() { return My_AI_Plugin\Plugin::instance(); } my_ai_plugin();
For a production plugin, use an appropriate namespace, prefix, architecture, and dependency-loading strategy.
Step 8: Follow WordPress Coding Standards
AI functionality does not change WordPress development requirements.
Follow appropriate practices for:
Naming
Hooks
Actions
Filters
Escaping
Sanitization
Nonces
Capabilities
Internationalization
Database access
HTTP requests
The AI layer should fit into WordPress rather than bypassing WordPress unnecessarily.
Step 9: Protect API Credentials
AI API keys are sensitive credentials.
Never expose them through:
Frontend JavaScript
HTML
Public REST responses
Client-side source code
A safer architecture is:
Browser ↓ WordPress ↓ Server-Side AI Client ↓ AI Provider
The secret remains on the server.
Step 10: Never Hardcode API Keys
Avoid placing production API credentials directly in plugin source code.
Instead, provide a secure configuration mechanism appropriate for the plugin.
Also avoid accidentally committing secrets into public repositories.
Step 11: Add Capability Checks
Administrative AI functionality should verify whether the current user is authorized to perform the operation.
For example:
Request ↓ Authentication ↓ Capability Check ↓ Input Validation ↓ AI Operation
Do not assume that every logged-in WordPress user should have access to expensive AI operations.
Step 12: Use Nonces Correctly
For appropriate authenticated browser actions, use WordPress nonce protection.
A typical workflow is:
Request ↓ Nonce Verification ↓ Capability Check ↓ Validation ↓ Processing
A nonce is not a replacement for authorization.
Step 13: Validate User Input
AI plugins can accept many forms of user input:
Prompts
Product information
Form submissions
Search queries
Content
Settings
Validate the input before processing it.
Consider:
Type
Length
Required values
Allowed values
Context
Permissions
Step 14: Sanitize Input and Escape Output
Use appropriate WordPress sanitization functions when handling input.
When displaying information, escape it for the correct output context.
The general principle is:
Sanitize input. Escape output.
Step 15: Do Not Trust AI Output
AI output should be treated as external data.
It can contain:
Unexpected formatting
Incorrect information
Missing values
Excessive content
Invalid structures
Validate the response before using it.
Step 16: Use Structured Responses
If your application expects structured information, design the AI workflow around a predictable format.
For example:
{ "title": "Example Product", "description": "Example description", "keywords": [ "wordpress", "ai" ] }
The plugin can then validate:
Required properties
Data types
Allowed values
Length limits
Step 17: Design the Prompt Layer
Do not scatter prompt strings throughout the plugin.
Create a prompt-management layer.
For example:
AI Feature ↓ Prompt Builder ↓ Context ↓ Instructions ↓ Output Requirements ↓ AI Service
This makes prompts easier to maintain.
Step 18: Minimize Prompt Context
More information does not automatically mean better results.
Only send information needed for the operation.
For example:
Product Title + Product Description + Product Attributes
may be sufficient for product description generation.
There may be no reason to transmit unrelated customer or order information.
Step 19: Version Prompts
Prompts can change over time.
Consider versioning important prompt templates:
Prompt v1 Prompt v2 Prompt v3
Prompt versions can also help with:
Cache invalidation
Debugging
Testing
Result comparison
Migration
Step 20: Control AI Output Length
Request the amount of content required by the application.
A product title generator does not need a long response.
Controlling output can help reduce:
Processing time
Network transfer
Storage
API consumption
Step 21: Build an AI Service Layer
The AI service should handle communication with providers rather than forcing every feature to implement API requests separately.
For example:
Content Generator SEO Analyzer Chatbot Product Generator ↓ AI Service ↓ Provider Adapter
This centralizes common functionality.
Step 22: Use the WordPress HTTP API
External AI services should generally be accessed through WordPress's HTTP APIs.
This allows the plugin to work within the WordPress ecosystem and provides established request-handling mechanisms.
Step 23: Handle API Errors
External API requests can fail.
Possible problems include:
Invalid credentials
Rate limits
Network errors
Timeouts
Invalid requests
Provider failures
Invalid responses
Do not expose raw technical errors unnecessarily.
Step 24: Configure Timeouts
External requests should not wait indefinitely.
Set appropriate timeouts and provide controlled failure handling.
Step 25: Implement Controlled Retries
Some temporary failures can be retried.
However, do not blindly retry every error.
For example:
Temporary Failure ↓ Retry ↓ Temporary Failure ↓ Backoff ↓ Retry
Invalid credentials generally require configuration correction rather than repeated requests.
Step 26: Use Exponential Backoff
For retryable failures, gradually increase the delay between attempts.
This reduces the chance of creating a request storm.
Step 27: Implement Rate Limiting
AI APIs can have request limits.
Your plugin may also need its own controls to prevent excessive usage.
Possible controls include:
Per-user limits
Per-site limits
Per-feature limits
Queue limits
Request throttling
Step 28: Add Usage Controls
Depending on the product, administrators may need to see:
Number of AI requests
Processing jobs
Errors
Usage periods
Limits
Feature consumption
A usage dashboard can make AI behavior easier to understand.
Step 29: Implement Caching
If an AI result can safely be reused, caching can prevent repeated requests.
For example:
Request ↓ Cache? ↙ ↘ Yes No ↓ ↓ Result AI API ↓ Cache
Caching can improve response time and reduce unnecessary external requests.
Step 30: Create Reliable Cache Keys
A cache key may depend on:
Content ID
Feature
Language
Model
Prompt version
Relevant configuration
Example:
product_125_description_en_v3
Step 31: Plan Cache Invalidation
When the source content changes, cached AI data may become outdated.
For example:
Product Updated ↓ Invalidate Description Cache ↓ Regenerate When Needed
Step 32: Prevent Duplicate Requests
If the same operation is already running, avoid creating unnecessary duplicate jobs.
For example:
Request A → Job 100 Request B → Existing Job 100
Step 33: Use Background Processing
Heavy AI operations should generally not block the user's normal request.
Instead:
User ↓ Create Job ↓ Return Immediately ↓ Background Worker ↓ AI API ↓ Save Result
This is particularly useful for:
Bulk generation
Image processing
Translation
Product catalogs
Embeddings
Large content analysis
Step 34: Build an AI Job Queue
A queue can track:
Pending Processing Completed Failed Retrying Cancelled
This makes background processing more reliable.
Step 35: Make Jobs Resumable
If a bulk operation processes 1,000 items and fails after 400, the plugin should be able to continue from the remaining workload where practical.
Completed: 400 Remaining: 600
Step 36: Batch Large Workloads
Do not attempt to process thousands of records in one PHP request.
Instead:
10,000 Records ↓ Batch 1 Batch 2 Batch 3 ... Batch 100
Batch processing helps control:
Memory
Execution time
API traffic
Failure recovery
Step 37: Optimize Database Storage
AI plugins can generate significant amounts of data.
Possible storage options include:
Options
Post metadata
User metadata
Custom tables
Transients
Object caching
Choose storage based on:
Data size
Query requirements
Persistence
Access frequency
Step 38: Avoid Large Autoloaded Options
Large AI-generated datasets should not unnecessarily become autoloaded WordPress options.
Configuration and large operational datasets should be treated differently.
Step 39: Optimize Database Queries
Avoid:
Repeated queries
N+1 queries
Unnecessary writes
Huge unpaginated queries
Use batching and appropriate query structures.
Step 40: Use Pagination
AI dashboards can eventually contain many jobs and records.
Use:
Pagination
Search
Filtering
Sorting
Incremental loading
Step 41: Build REST API Endpoints Carefully
AI plugins frequently use REST APIs for:
Chat
Generation
Job status
Search
Analytics
Admin interfaces
Endpoints should:
Authenticate appropriately
Validate input
Authorize users
Return only necessary data
Handle errors consistently
Step 42: Keep REST Responses Small
A job-status endpoint may only need:
{ "status": "processing", "progress": 60 }
There is no need to return the complete AI result every time.
Step 43: Avoid Excessive Polling
Do not have browsers repeatedly request large responses every second.
Use reasonable polling intervals and lightweight status endpoints.
Step 44: Load JavaScript and CSS Conditionally
AI plugin assets should only load where they are needed.
For example:
AI Admin Page ↓ Load AI Admin Assets
rather than loading every asset across the entire WordPress dashboard.
Step 45: Separate Admin and Frontend Code
Keep administrative functionality separate from frontend functionality.
This improves organization and can reduce unnecessary processing.
Step 46: Add AI Chatbot Functionality
An AI chatbot can follow an architecture such as:
Visitor ↓ Chat Interface ↓ WordPress Endpoint ↓ Security Validation ↓ Conversation Context ↓ AI Service ↓ Response ↓ Chat Interface
Consider:
Rate limiting
Conversation length
Context size
Privacy
Abuse prevention
Response validation
Step 47: Build AI Content Generation
Content generation can include:
Blog outlines
Titles
Product descriptions
Summaries
Meta descriptions
Social content
Allow users to preview generated content before saving it where appropriate.
Step 48: Build AI SEO Features
AI SEO functionality can analyze:
Titles
Meta descriptions
Content
Keywords
Headings
Internal links
AI suggestions should be treated as recommendations that users can review rather than automatically assuming every generated change is correct.
Step 49: Build AI Image Features
AI image functionality can include:
Image generation
Image enhancement
Image analysis
Alt text
Image metadata
Large image operations may require background processing.
Step 50: Build AI Alt Text Generation
A typical workflow is:
Image ↓ AI Vision / Analysis ↓ Generated Description ↓ Validation ↓ Alt Text
Avoid blindly overwriting existing carefully written alt text.
Step 51: Build AI WooCommerce Features
WooCommerce AI plugins can support:
Product descriptions
Recommendations
Upsells
Search
Categorization
Customer support
Product analysis
Large product catalogs should generally be processed asynchronously.
Step 52: Build AI Recommendations
Recommendation engines can use information such as:
Product relationships
Categories
User interactions
Purchase history
Search behavior
Handle customer data carefully and minimize unnecessary transmission to external services.
Step 53: Build AI Search
AI-powered search can combine:
Keyword Search + Semantic Understanding + Relevant Content
A fallback to standard WordPress search may be useful when the AI service is unavailable, depending on the feature.
Step 54: Build AI Forms
AI forms can perform tasks such as:
Classification
Lead qualification
Summarization
Routing
Automated responses
Do not automatically transmit every form field to an external AI provider.
Step 55: Build AI Automation
AI automation can connect events to actions:
WordPress Event ↓ AI Processing ↓ Decision ↓ Action
Examples include:
New lead → classification
New product → description generation
New support request → categorization
Step 56: Protect Personal Data
AI features can interact with:
Names
Email addresses
Phone numbers
Customer messages
Orders
Support conversations
Use data minimization and appropriate privacy controls.
Step 57: Explain External Processing
If information is transmitted to an external AI service, clearly explain the relevant processing behavior.
Users should understand what the feature does with their information.
Step 58: Avoid Unnecessary Data Transmission
For example, if an AI feature only needs a product title, do not send unrelated:
Customer records
Order history
Internal notes
User metadata
Step 59: Add Privacy Controls
Depending on the plugin, settings may include:
AI processing enabled/disabled
Data transmission controls
Logging controls
Retention settings
Feature-level permissions
The exact options depend on the product.
Step 60: Secure AI Chatbots and Forms
Public AI interfaces can be abused.
Consider:
Rate limits
Request validation
Authentication when appropriate
Spam controls
Usage limits
Input length limits
Step 61: Design a Clear Admin Interface
Organize AI configuration into logical sections:
General AI Provider Models Features Usage Privacy Performance Advanced
Avoid putting dozens of unrelated options onto one page.
Step 62: Provide Useful Status Information
Users should know whether an operation is:
Queued Processing Completed Failed
This is especially important for asynchronous operations.
Step 63: Handle Errors Gracefully
Instead of displaying confusing technical messages, provide understandable information.
For example:
The AI service is temporarily unavailable. Please try again later.
Detailed technical information can be logged separately when appropriate.
Step 64: Log Carefully
Useful diagnostics may include:
Job ID
Error type
Processing duration
Provider status
Retry count
Avoid logging sensitive prompts, responses, credentials, or personal data unnecessarily.
Step 65: Monitor Performance
Measure:
API latency
Queue processing time
Cache hit rate
Database performance
Memory usage
Failed jobs
Retry frequency
Performance should be measured rather than guessed.
Step 66: Test AI Failure Scenarios
Test:
Invalid credentials
Timeout
Rate limit
Network failure
Invalid response
Provider outage
Malformed data
The plugin should fail predictably.
Step 67: Test With Large Websites
A plugin that works with 100 posts may behave differently with:
10,000 posts
50,000 products
Large media libraries
Many users
Test realistic workloads.
Step 68: Test Plugin Compatibility
AI plugins may interact with:
WooCommerce
SEO plugins
Security plugins
Cache plugins
Page builders
Form plugins
Avoid unnecessary global modifications.
Step 69: Avoid Global WordPress Changes
Do not modify WordPress behavior globally unless required.
Avoid unnecessary changes to:
Global queries
Scripts
Styles
Core APIs
Default hooks
Step 70: Use Unique Namespaces and Prefixes
Prevent naming collisions with other plugins.
Use a consistent namespace or unique prefix for:
Classes
Functions
Constants
Options
Hooks
Database structures
Step 71: Internationalize the Plugin
User-facing strings should be prepared for translation.
For example:
__( 'Generate Content', 'my-ai-plugin' );
Use a consistent text domain throughout the plugin.
Step 72: Document Developer APIs
If your plugin exposes hooks, filters, classes, or REST endpoints for developers, document them.
Documentation should explain:
Parameters
Return values
Expected behavior
Errors
Compatibility
Step 73: Build Extension Points
Useful extension points might include:
AI providers
Prompt templates
Model selection
Output processors
Storage
Integrations
This allows the plugin to evolve without rewriting the core.
Step 74: Maintain Backward Compatibility
Plugin updates should avoid unnecessarily breaking:
Existing settings
Stored data
Public hooks
Developer integrations
APIs
Step 75: Create Migration Systems
If the database or settings structure changes:
Old Version ↓ Migration ↓ New Version
Migration logic allows existing installations to move safely to newer versions.
Step 76: Avoid Destructive Updates
Plugin updates should not unexpectedly delete user data or generated AI content.
Data deletion should be intentional and appropriately communicated.
Step 77: Handle Deactivation and Uninstallation Carefully
Deactivation does not necessarily mean that users want their data deleted.
Separate temporary deactivation from intentional uninstall cleanup.
Step 78: Build a Scalable Architecture
A scalable AI plugin may eventually contain:
Plugin Core + Multiple AI Providers + Multiple Models + Queues + Cache + Database + REST API + Admin UI + Integrations
Planning for modularity early can make future expansion easier.
Step 79: Optimize AI API Costs
AI operations can create external usage costs.
Reduce unnecessary usage through:
Caching
Request deduplication
Smaller prompts
Controlled output
Batching
Background processing
Appropriate models
Cost optimization should not compromise required functionality or reliability.
Step 80: Implement AI Usage Limits
Depending on the product, limits can be based on:
User
Role
Site
Feature
Time period
Number of jobs
This can prevent accidental excessive usage.
Step 81: Build Fallback Strategies
Where appropriate:
AI Available ↓ AI Result AI Unavailable ↓ Fallback Functionality
For example, an AI-enhanced search system may fall back to standard search.
Step 82: Design for Provider Changes
AI providers and models can evolve quickly.
Keep provider-specific functionality isolated so that the core application remains stable.
Step 83: Test Prompt Changes
Prompt modifications can affect:
Output quality
Response length
Structure
Cost
Processing time
Test prompt changes before deploying them widely.
Step 84: Use Feature Flags
Feature flags can allow controlled rollout of new AI functionality.
For example:
AI Recommendations [Enabled]
This can be useful when introducing complex features.
Step 85: Add Debugging Tools Carefully
Developers may need diagnostic information such as:
Provider
Model
Request timing
Job ID
Error status
Do not expose secrets or sensitive user information in debugging interfaces.
Step 86: Build an AI Job History
For asynchronous features, a job history can show:
Job ID Feature Status Created Started Completed Error
This helps administrators troubleshoot failed operations.
Step 87: Add Retry Management
Administrators may need to retry failed jobs where appropriate.
A retry system should still respect:
Rate limits
Retry limits
Error type
Queue capacity
Step 88: Make AI Features Optional
Not every website requires every AI feature.
Allow administrators to activate only the features they need.
Step 89: Avoid Unnecessary AI Processing
Before running an AI request, check:
Is AI required? Can cached data be reused? Is the source content unchanged? Is a job already running?
Avoiding unnecessary work can improve both performance and cost efficiency.
Step 90: Build a Reliable User Experience
A good AI plugin should communicate:
What the AI feature does
What information it processes
When processing is happening
Whether the operation succeeded
What happened when it failed
AI should not feel like an unexplained black box.
WordPress AI Plugin Development Checklist
Planning
Define the problem
Identify users
Define the AI workflow
Select appropriate AI capabilities
Define privacy requirements
Architecture
Create modular architecture
Separate business logic
Create AI service layer
Abstract provider integrations
Design database storage
Plan background processing
Security
Protect API credentials
Add capability checks
Use nonces appropriately
Validate requests
Sanitize input
Escape output
Protect REST endpoints
Add rate limiting
Performance
Add caching
Prevent duplicate requests
Use queues
Batch workloads
Optimize database queries
Use pagination
Load assets conditionally
Avoid excessive polling
AI Integration
Abstract providers
Validate AI responses
Control prompt size
Control output size
Handle errors
Implement retries
Configure timeouts
Plan for provider changes
Privacy
Minimize data transmission
Avoid unnecessary personal data
Explain external AI processing
Protect logs
Provide relevant privacy controls
Testing
Test normal workflows
Test API failures
Test rate limits
Test timeouts
Test large datasets
Test plugin conflicts
Test supported WordPress versions
Test upgrade migrations
Common WordPress AI Plugin Development Mistakes
1. Building Everything in One Class
Large monolithic classes become difficult to maintain.
Use modular architecture.
2. Exposing API Keys
Never expose private credentials to frontend users.
3. Trusting AI Output
Validate AI responses before using or storing them.
4. Running Large Tasks Synchronously
Bulk AI processing should generally use background processing.
5. No Rate Limiting
Uncontrolled requests can create API and server problems.
6. No Caching
Repeated operations can unnecessarily increase latency and external usage.
7. Sending Excessive Data
Only transmit the information required for the AI task.
8. Ignoring Error Handling
External AI services can fail and should be treated as unreliable dependencies.
9. Loading Everything Everywhere
Conditionally load scripts, styles, and expensive services.
10. Ignoring Future Changes
AI providers, models, and APIs can change. Build abstraction layers that make changes manageable.
Recommended WordPress AI Plugin Architecture
A practical high-level architecture can look like:
WordPress │ ┌────────┴────────┐ │ Plugin Core │ └────────┬────────┘ │ ┌──────────────┼──────────────┐ │ │ │ Admin Frontend REST API │ │ │ └──────────────┼──────────────┘ │ AI Service │ Provider Interface │ ┌────────────┼────────────┐ │ │ │ Provider A Provider B Provider C │ External AI
Supporting services can sit alongside the AI service:
AI Service ├── Cache ├── Queue ├── Rate Limiter ├── Logger ├── Validator └── Usage Manager
This architecture keeps major responsibilities separated.
How to Build a Production-Ready WordPress AI Plugin
A practical development process can follow these stages:
Stage 1: Research
Define the problem and target users.
Stage 2: Architecture
Design the plugin modules and AI workflow.
Stage 3: Provider Integration
Build the AI service and provider abstraction.
Stage 4: Security
Implement authorization, validation, credential protection, and request controls.
Stage 5: Core Feature
Build the primary AI functionality.
Stage 6: Performance
Add caching, batching, queues, and conditional loading.
Stage 7: Privacy
Review transmitted information and data handling.
Stage 8: Testing
Test normal and failure scenarios.
Stage 9: Compatibility
Test with supported WordPress versions and relevant plugins.
Stage 10: Deployment
Prepare documentation, migrations, upgrade paths, and production configuration.
Why Choose Kaddora?
Kaddora focuses on WordPress plugins, themes, templates, WooCommerce solutions, AI tools, SEO, analytics, automation, and modern website development resources.
Developing a reliable AI-powered WordPress plugin requires more than connecting an AI API. A complete solution needs attention to:
WordPress architecture
AI integrations
Security
Privacy
Performance
API reliability
Background processing
Caching
WooCommerce compatibility
Scalability
User experience
Kaddora provides WordPress-focused products and resources designed around modern website development, automation, AI functionality, WooCommerce, SEO, and business requirements.
ThemeKaddora also provides WordPress themes, plugins, templates, and resources for developers, agencies, businesses, and website owners.
Conclusion
WordPress AI plugin development combines traditional WordPress engineering with modern artificial intelligence services.
A successful AI plugin should not simply generate an AI response. It should provide a complete application architecture around that response.
The core areas include:
Clean WordPress Architecture + AI Provider Integration + Security + Privacy + Validation + Caching + Background Processing + Performance + Scalability + User Experience
Start by defining a clear problem.
Then design the plugin architecture, isolate AI provider communication, secure credentials, validate all external data, minimize transmitted information, and build reliable processing workflows.
As the plugin grows, introduce caching, queues, rate limiting, monitoring, migrations, extensibility, and compatibility testing.
AI technology will continue to evolve, so the plugin architecture should also be designed for change.
The most maintainable WordPress AI plugins treat artificial intelligence as one part of a larger WordPress application rather than allowing the AI provider to control the entire architecture.
With a modular design, secure API integration, appropriate performance strategies, strong privacy practices, and thorough testing, developers can build WordPress AI plugins that are prepared for real-world websites and growing workloads.
Frequently Asked Questions
What is WordPress AI plugin development?
WordPress AI plugin development is the process of creating WordPress plugins that use artificial intelligence to provide features such as content generation, chatbots, search, recommendations, automation, SEO, image processing, and customer support.
How do I build an AI plugin for WordPress?
Start by defining the problem, designing the plugin architecture, selecting an appropriate AI provider, creating an AI service layer, implementing security, building the core feature, adding error handling and performance optimization, and then testing the plugin.
Do I need an AI API to build a WordPress AI plugin?
If the plugin depends on a remote AI provider, an API is typically used to communicate with that provider. Other AI architectures may use locally hosted or self-managed models.
Where should I store an AI API key in WordPress?
AI credentials should be handled server-side and should not be exposed through frontend JavaScript, HTML, or public API responses.
How can I secure a WordPress AI plugin?
Use appropriate capability checks, nonces, input validation, sanitization, output escaping, protected credentials, secure REST endpoints, rate limiting, and careful error handling.
How can I reduce AI API costs?
Use caching, request deduplication, smaller prompts, controlled output sizes, batching, appropriate models, and background processing.
What is AI plugin caching?
Caching stores reusable AI results so the plugin can reuse them instead of making the same external request repeatedly.
Why is background processing useful for AI plugins?
AI operations can take longer than normal WordPress requests. Background processing allows long-running tasks to execute separately without forcing the user's browser request to remain open.
How should I handle AI API rate limits?
Use request throttling, queues, controlled concurrency, retry limits, and appropriate backoff strategies.
How do I prevent duplicate AI requests?
Check whether a suitable cached result already exists or whether an identical job is already processing before creating another AI request.
Should AI-generated content automatically be published?
That depends on the plugin's purpose and workflow. For many content-generation features, providing a review or approval step can give administrators control over what gets published.
Why choose Themekaddora?
Themekaddora provides lightweight, responsive, SEO-friendly WordPress themes with fast performance, WooCommerce compatibility, flexible customization, accessibility-conscious design, modern templates, regular updates, and professional support—providing a strong foundation for businesses building digital products and product-focused websites.
Comments (0)